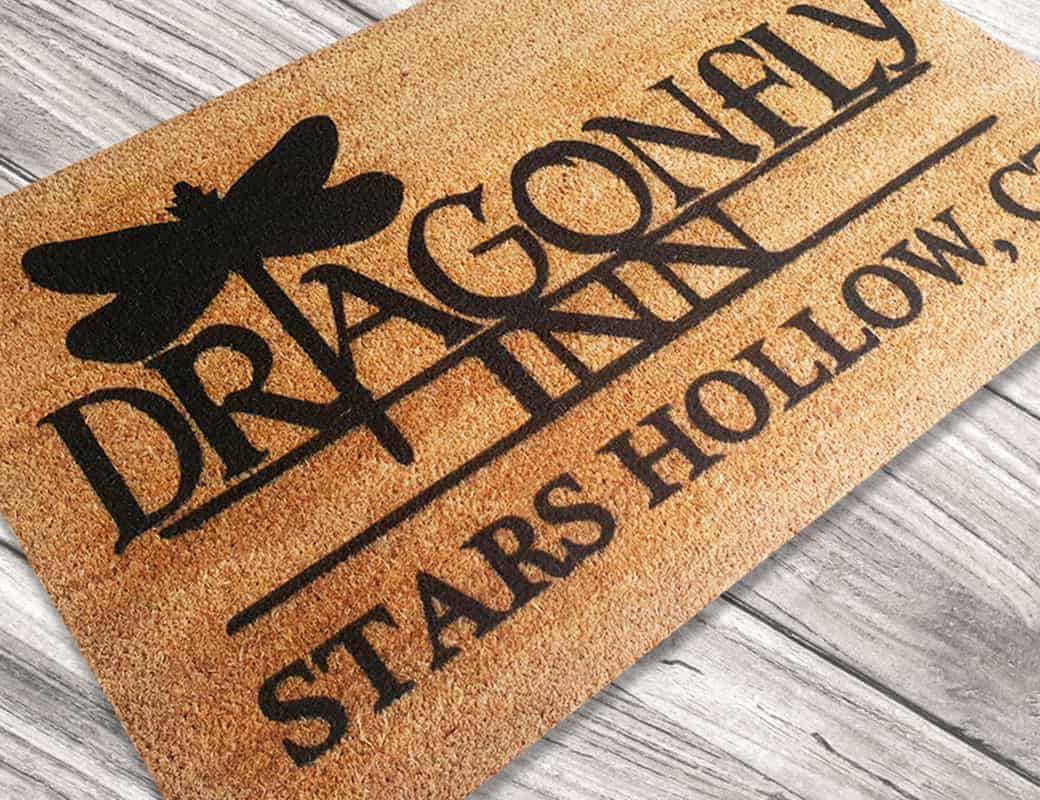
Looking to transform your front porch into a show stopper that will leave your neighbours in awe? It’s time to unleash your creativity and make a statement before anyone even steps foot into your home.
With just a Cricut machine and a sprinkle of DIY spirit, you can create eye-catching doormats that perfectly reflect your unique style. But how exactly do you go about it? Stick around, because in this article, we’re going to spill the secrets on how to design, cut, transfer, and paint your way to a personalised doormat that will have everyone talking.
So, grab your Cricut and get ready to embark on this exciting journey.
However, if you’re not quite ready to dive into a DIY project, there’s no need to worry. Let the professionals take over and provide you with the perfect solution. At T.Ess Personalised, we offer beautifully crafted Personalised Door Mats, saving you the time and effort while still ensuring that your porch makes that unforgettable first impression. Whether you choose to DIY or purchase one of our expertly made mats, your front porch is sure to be the envy of the neighbourhood.
Key Takeaways
- The materials and tools needed for creating a DIY doormat include a coir doormat, freezer paper, acrylic paint, pins, a Vinyl Plotter (i.e. Cricut machine), heat source, and more.
- Designing and cutting the stencil for the doormat involves using the Design software of the vinyl plotter, customising with your design, and ensuring the design fits within the cutting mat width.
- Transferring and painting the stencil requires peeling out the parts to be painted, using heat resistant transfer tape to secure the stencil, lining it up on the doormat, and pressing with an iron or easy press to secure it.
- Finishing touches and cleaning up involve using an iron to ensure the letters are sticking, peeling off tape and stencil, cleaning up any loose pieces, applying paint with a brush, and removing the stencil while the paint is wet.
Getting Started: Materials and Tools Needed
To begin creating your own DIY doormats using a Cricut machine, first gather the necessary materials and tools. For this project, you will need:
- A plain coir doormat
- Freezer paper
- Heat resistant transfer tape (optional)
- Acrylic Paint
- Push or dressmaker pins
- Vinyl Plotter (such as Maker or Explore Air 2, or a generic vinyl plotter)
- A light grip cutting mat
- An easy press or household iron
- Scissors or tweezers
Designing and Cutting the Stencil
Once you have all your materials and tools ready, it’s time to design and cut the stencil for your DIY doormat. You’ll use the design software that comes with your vinyl plotter for this. Customise your design with vectors from other resources and create a reference rectangle for the desired size. Remember to delete the reference rectangle before cutting.
Load the freezer paper onto the light grip cutting mat with the waxy side down, ensuring it’s smoothed out to prevent sticking. Then, let the Cricut machine work its magic.
Preparing and Securing the Stencil
After cutting, peel out the lettering or design that will be painted. Secure the stencil onto the doormat using heat resistant transfer tape, ensuring it’s firmly in place. Heat your iron or easy press and apply it to each section of the stencil for about 30 seconds to ensure proper adhesion.
Secure the stencil further with pins, especially any small loose pieces, to keep them in place.
Painting Your Doormat
Now, it’s time to paint! Use a paintbrush to apply generous coats of acrylic paint to the stencil. Employ a dabbing motion for even coverage, ensuring a sufficient amount of paint on the brush. It’s recommended to apply at least two, if not three, coats for optimal coverage.
Feel free to get creative with your paint choices, as this is your chance to personalise your doormat.
While the paint is still wet, carefully remove the pins and gently peel off the stencil. Use craft tweezers to remove any inside pieces.
Finishing Touches
Examine your painted doormat for any areas needing extra attention. Use a small paintbrush to fill in gaps or tidy up areas where paint may have bled outside the stencil lines. Pay special attention to the edges for crisp lines and a polished finish. Any smudges or imperfections can be gently wiped away with a damp cloth. Once complete, let the doormat dry and admire your work.
Maintaining Your DIY Doormat for Lasting Appeal
To ensure the longevity of your DIY doormat, proper maintenance is essential.
Keep the doormat under cover, away from weather elements such as harsh sun and rain. Regularly vacuuming the loose fibres helps maintain the design’s appearance.
It’s always advisable to touch up any areas that have experienced excessive wear and tear. Doing so will extend the lifespan of your doormat, keeping it looking fresh and vibrant for a longer period.
Showcasing Your Style
Creating a DIY doormat with your Cricut machine is not only fun but also a great way to express your personal style. By following these steps, you can make a unique and striking doormat that impresses at your front porch.
Remember, ‘Home is where the heart is.’ Let your doormat reflect the warmth and personality of your home. Unleash your creativity and craft a welcoming mat that combines style and charm.

